
Lesson 3: Connecting Your Source Store
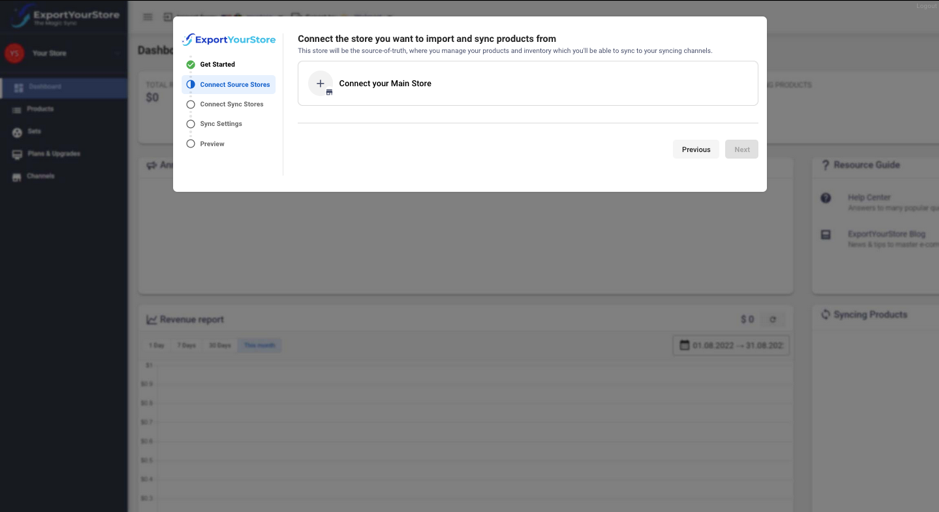
When you first create an account with ExportYourStore, you’ll be prompted to connect your main source store with the help of the setup wizard.
After reading the “Get Started” section of the setup wizard, click “Next.” Then, click “Connect Your Main Store.” This will open a popup with a list of supported source platforms.
Click “Connect Your Main Store” to see a popup of all supported source platforms, and select the correct one for your source store.
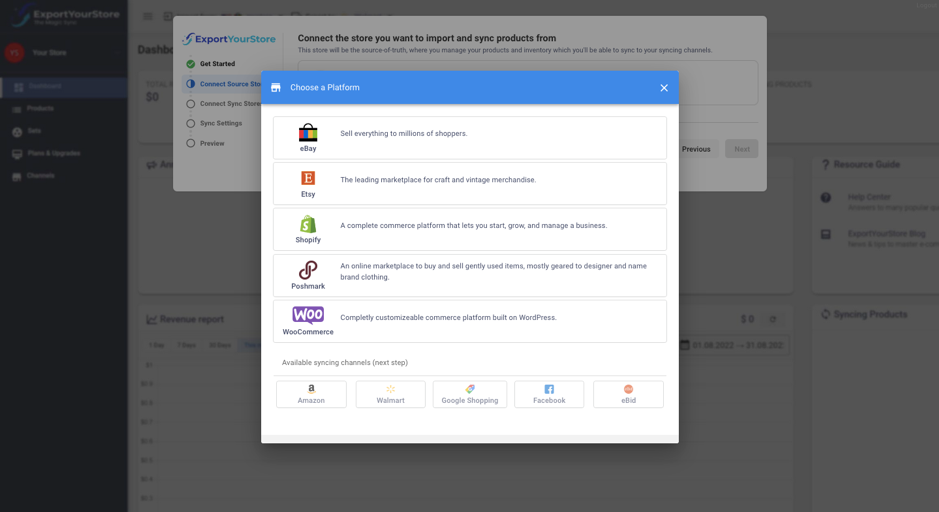
This means that if you’re currently selling on eBay US account, for example, you’ll need to select eBay, then select the eBay site “eBay.com” from the dropdown.

After selecting the correct platform, you’ll be prompted to authorize ExportYourStore within the source marketplace, a process which differs only slightly between each platform.
Finally, assign a nickname to your source store. Choose one that you’ll easily recognize, such as “eBayUS” for example.

Click “Connect” – and you’re done!
You’ll now be able to define your sync settings, which determine exactly how synchronization happens from your source store to your target store. You’ll also have the option of automatically fixing SKUs (handy when you have duplicate SKUs, incomplete SKUs, or even no SKUs at all), as well as defining what gets synced – pricing, quantity, closed listings, and product data.
If you want to add additional sources after you’ve completed the initial setup of your first source store, click “Channels” in the navigation pane, then click “Add Source.” You’ll be able to add a new source store in the same way you linked your first source store in the initial setup.
